Crusty Gluten-Free White Bread (Oven Baked)
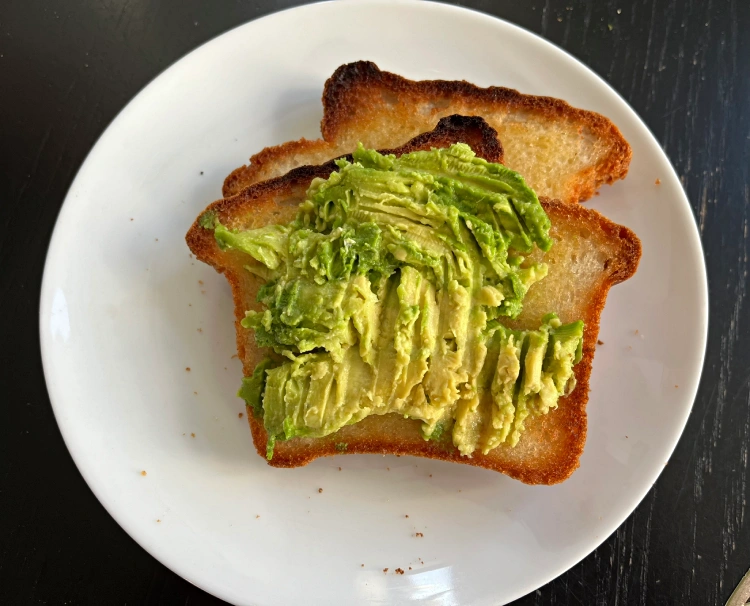
Looking for a delicious and crusty gluten-free white bread recipe? No sweat – I’ve got you covered! Easy to make, tastes great and goes perfectly with avocado.
I must admit, I’ve long been hesitant to try my hand at making gluten-free white bread from scratch, assuming it would be a tedious and complicated process.
The thought of navigating tricky gluten-free ingredients had also put me off, but I’m delighted to report that my fears were entirely unfounded!
To my surprise, this gluten-free white bread was incredibly easy to make, and the end result was well worth the effort.
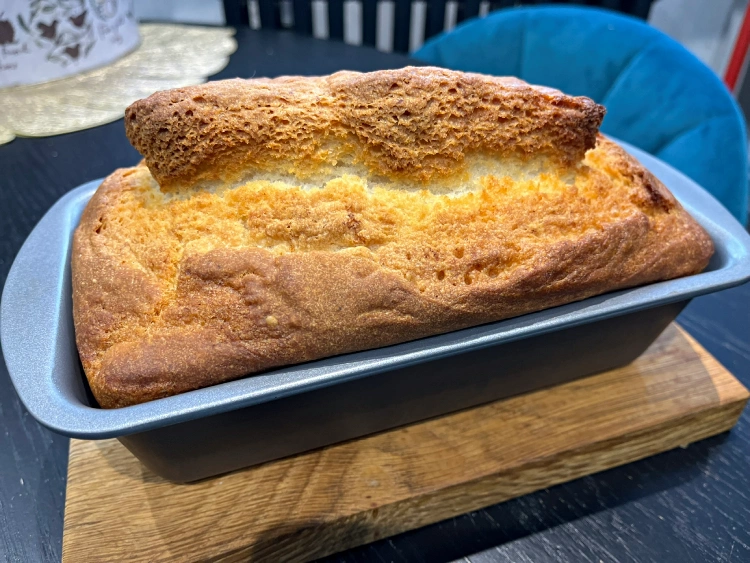
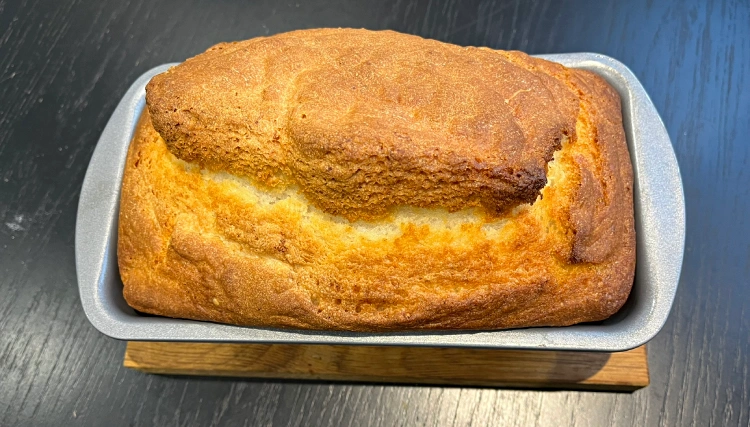
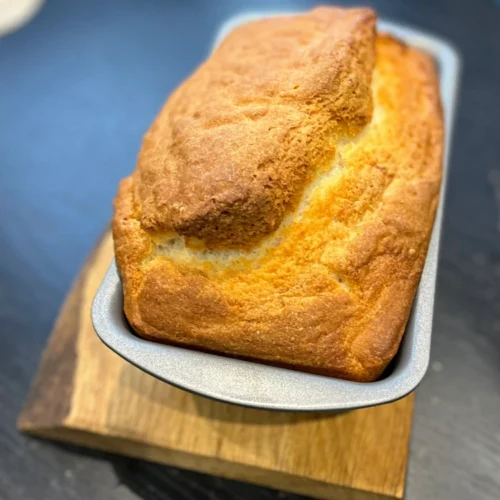
Although the loaf turned out slightly denser than I’m accustomed to, it was still utterly delicious.
The crust had a wonderfully satisfying crunch when I took a bite, giving way to a reasonably soft centre that was simply delightful.
It’s a revelation to discover that gluten-free baking doesn’t have to be intimidating, and I’m eager to experiment further with this newfound confidence.
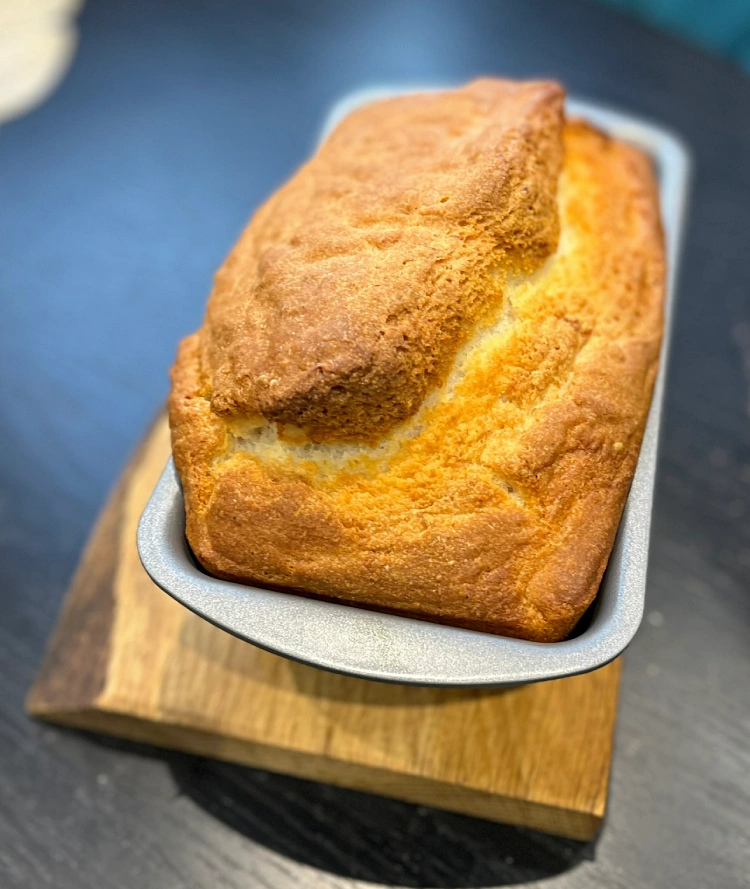
Table of Contents
What you’ll love about this recipe
- Caters to Dietary Needs: Gluten-free white bread is perfect for those with gluten intolerance or Coeliac disease, allowing them to enjoy bread without worrying about adverse health effects.
- Versatility in Recipes: Gluten-free white bread can be made in various ways, such as using a breadmaker or by hand, offering flexibility in preparation methods.
- Nutritional Balance: Many recipes incorporate nutritious ingredients like eggs, flaxseed, and coconut flour, providing a balanced mix of protein, healthy fats, and fibre.
- Easy to Make: Gluten-free white bread recipes are often straightforward and require minimal ingredients, making them accessible to beginners in the kitchen.
- Delicious Taste and Texture: Despite being gluten-free, these breads can have a soft, fluffy interior and a crispy crust, making them indistinguishable from traditional breads and perfect for sandwiches or toast.
Ingredients
- 2 Egg whites
- 2 tbsp Sugar
- 1 tsp salt
- 6 tbsp vegetable oil
- 1 tsp vinegar
- 425ml water at room temputer
- 500g FREEE white bread flour
- 2 tsp quick gluten-free yeast
- Oil for tin
Instructions
- Prepare a 1kg/2lb bread tin by rubbing some oil around the inside of it.
- In a large mixing bowl, put the 2 egg whites, sugar, salt, three spoons of the oil, vinegar, water and whisk together.
- Add the flour and the yeast, whisking into a smooth thick batter.
- Drizzle the remaining oil over the batter and fold in.
- Tip the batter into the prepared bread tin and make sure the top is smooth.
- Cover the tin with a large mixing bowl and leave somewhere warm to rise. This can take 60-90 minutes. The dough should rise to 7mm 1/4 ” below the top of the tin.
- Preheat the oven to 220C Fan 200C, 425F or Gas 7.
- Bake for 55-60 minutes.
- Turn out the loaf onto a cooling rack and allow to cool completely before slicing.

What to serve with gluten-free white bread
- Classic Sandwich Fillings: Use gluten-free white bread to make traditional sandwiches with fillings like ham, cheese, egg, and lettuce. You can also add healthier twists by incorporating avocado, hummus, or sprouts.
- Veggie Delights: Create a veggie sandwich with ingredients like tomatoes, peppers, avocado, cucumber, alfalfa sprouts, and collard greens.
- Cheesy Garlic Bread: Transform your gluten-free white bread into a cheesy garlic bread by spreading garlic butter and topping it with mozzarella and cheddar cheese.
- Breakfast Options: Use gluten-free white bread to make breakfast sandwiches with scrambled eggs, smoked salmon, and dairy-free cheese.
- Toast with Spreads: Enjoy gluten-free white bread toasted with spreads like peanut butter or homemade jam for a sweet treat
Are you ready to try my gluten-free white bread recipe yourself? Let’s get started:
Crusty Gluten-Free White Bread (oven baked)
Equipment
- Weighing scales
- Wooden Spoon
- Mixing Bowl
- Measuring Jug
- Table Spoon
- Tea Spoon
- 1KG /2LB Bread tin
- Cooling rack
- Whisk
- Extra mixing bowl to cover bread dough when rising
Ingredients
- 2 Egg whites Or 20g FREEE gram flour & 40ml water
- 2 tbsp Castor sugar
- 1 tsp Salt
- 6 tbsp Vegetable oil
- 1 tsp Cider vinegar
- 425 ml Warm water boil the kettle and leave to cool
- 500 g FREEE White Bread Flour
- 2 tsp Gluten-free quick yeast
- Vegetable oil for tin
Instructions
- Oil a 1kg/2lb bread tin.
- Put the egg whites,(or gram flour and water) salt, sugar, three tablespoons of vegetable oil, vinegar and warm water into a mixing bowl and whisk them together.
- Add the flour and yeast, whisking them into a smooth thick batter.
- Add the remaining three tablespoons of oil to the batter and fold in.
- Tip the dough mixture into the oiled bread tin and smooth the top.
- Cover the bread tin with a mixing bowl and leave to rise. This will take between 60-90 minutes. The dough needs to rise about 7mm or 1/4" below the top of the tin.
- Preheat the oven to 220C, Fan 200C,425F, Gas 7. Then, bake for 55-60 mnites.
- Turn the bread out onto a cooling rack and leave to completely cool before slicing.
Nutrition
If you want more yummy gluten-free recipes, then check these out👇
Gluten-Free White Bread Tips:
Use psyllium husk powder: This ingredient helps improve the texture and elasticity of gluten-free bread, making it easier to handle and shape.
Try the Tangzhong method: This technique involves cooking some of the flour with hot water, which traps moisture and makes the dough less sticky and more elastic.
Activate the yeast properly: Mix the yeast with warm water (95-110°F) and sugar, then let it sit for 5-10 minutes until frothy.
Create steam in the oven: Place a baking tray with hot water at the bottom of the oven and add ice cubes around the bread to create steam, which helps develop a crispy crust.
Let the bread cool completely: Allow the loaf to cool entirely before slicing to ensure the inside sets properly.
Use carbonated water or gluten-free beer: These can help promote volume in bread loaves.
Smooth the dough surface: Ensure the top of the dough is smooth in the tin before proving, as any lumps or cracks will show in the baked bread.
Use a stand mixer: Mix the dough on medium speed for about 2 minutes to ensure all ingredients are well combined.
Cover the bread while baking: Halfway through baking, cover the loaf with foil to prevent over-browning.
Experiment with flour blends: Try different combinations of gluten-free flours, such as sorghum flour, tapioca starch, and potato starch, to achieve the desired texture and flavour.
Frequently Asked Questions
Can I use a bread machine to make gluten-free bread?
It’s generally not recommended to use a bread machine for gluten-free bread, as results can be inconsistent and vary significantly between brands.
How do I ensure the right proportion of ingredients in my gluten-free flour blend?
Whisk and shake the ingredients in a large container to ensure a cohesive blend. Avoid packing it into a small container, which can lead to uneven proportions.
Can I substitute gluten-free all-purpose flour for regular flour in recipes?
Yes, but you may need to adjust the recipe, especially if it includes xanthan gum. Gluten-free flours can behave differently in terms of moisture and texture.
Why does my gluten-free bread not rise properly?
Common issues include overworking the dough, incorrect yeast activation, or insufficient rising time. Gluten-free doughs typically rise less than traditional breads.
Can I use egg substitutes in gluten-free bread recipes?
Yes, many gluten-free bread recipes do not require eggs, and you can use egg replacers if needed. However, some enriched breads may require eggs for structure.
Is Codex wheat starch safe for a gluten-free diet?
Yes, Codex wheat starch is safe for those with gluten intolerance or coeliac disease, as it contains less than 20 ppm of gluten.
How do I prevent gluten-free bread from becoming dense or gummy?
Avoid overworking the dough, ensure proper yeast activation, and use the right flour blend. Adding ingredients like xanthan gum or psyllium husk can help improve texture.
Share the love!
Related recipes 🔗
Becky ✍️
![]() Hi, I am Becky. I am a passionate recipe maker and having been a coeliac (celiac) for 30+ years I focus on gluten-free recipes. My blog is my online cookbook of gluten-free tasty recipes. You can follow me on X: @beckygwg
Hi, I am Becky. I am a passionate recipe maker and having been a coeliac (celiac) for 30+ years I focus on gluten-free recipes. My blog is my online cookbook of gluten-free tasty recipes. You can follow me on X: @beckygwg
Meet Becky 👉
Comments
There are 3 comments on this post. Leave a comment 👇
I found your recipe today and I found it very easy to follow except I had to convert the milliliters and the grams because I don’t use metric but other than that it was awesome… Just waiting for it to cool so I can taste it. Thank you so much for sharing.
Finally, a gluten-free loaf that doesn’t feel like a brick—this one’s actually crusty and fluffy.
I finally found a gluten-free bread that doesn’t fall apart—this one’s a keeper.