Heavenly Gluten Free Blackberry Jam Recipe
My delicious blackberry jam recipe is the perfect way to make the most of your blackberry harvest. Jam is the perfect way to preserve fruits and is so simple.
I am a bit obsessed with making jam at the moment, it gives me a happy buzz. I am fortunate to have so many blackberry bushes behind my house, and I have become a frequent visitor.
As summer winds down, it’s the perfect time to make the most of those juicy blackberries growing wild in the hedgerows.
This jam is a brilliant way to preserve the taste of summer and enjoy it all year round. It’s dead easy to make and tastes absolutely scrummy!
You can add it to many desserts, crumble being a firm favourite, make sandwiches, or eat it straight from the jar, guilty!
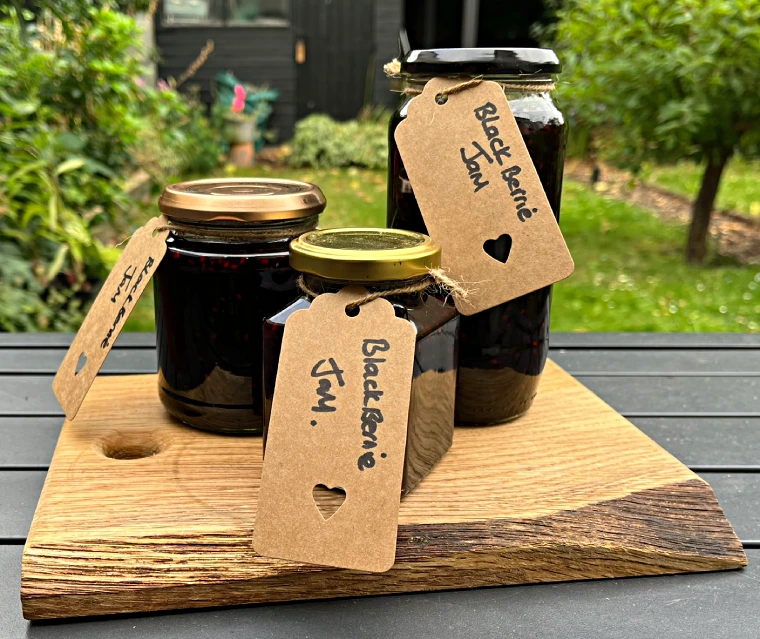
I recycle all my glass jars and only have to buy the preserving sugar so it’s a great way to save a few quid.
So get outside and go hunting, but do always make sure you ask the landowner’s permission before helping yourself!
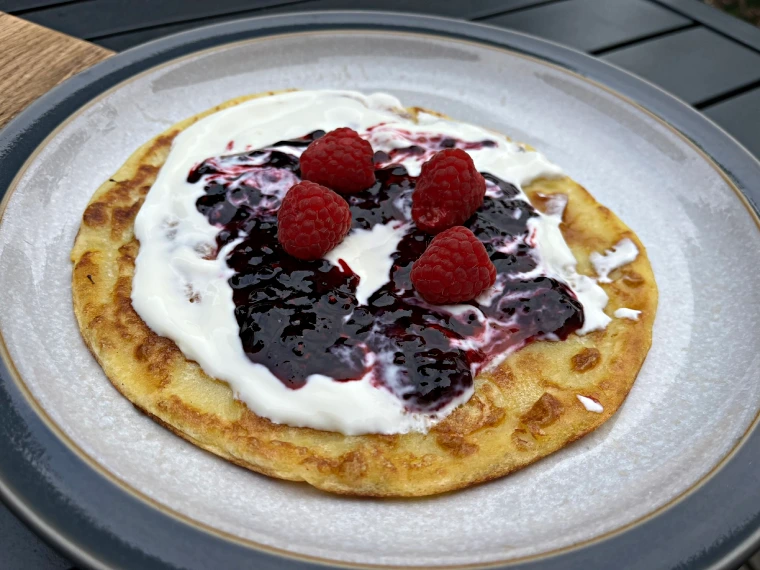
Table of Contents
What you’ll love about this recipe
- It’s naturally gluten-free, so no worries about hidden nasties
- Uses just three simple ingredients – blackberries, preserving sugar, and lemon juice
- A perfect way to use up a bumper crop of blackberries
- Versatile – great on toast, in desserts, or straight from the jar (I won’t tell!)
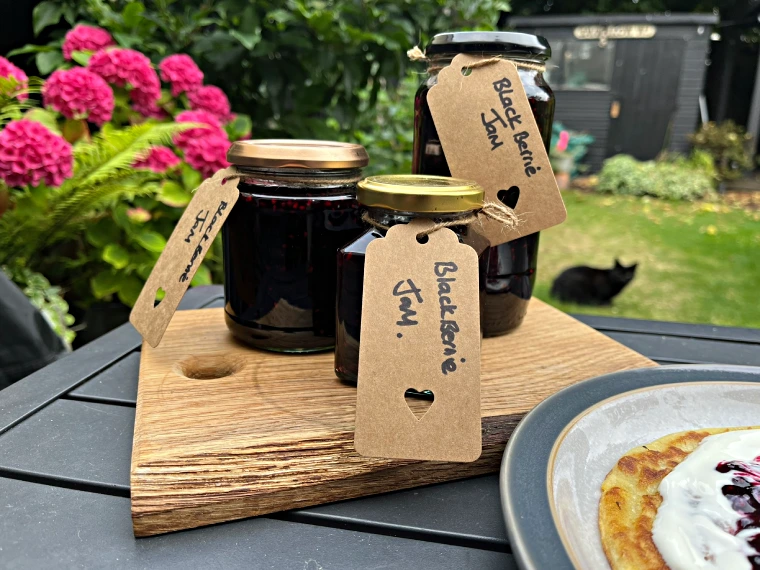
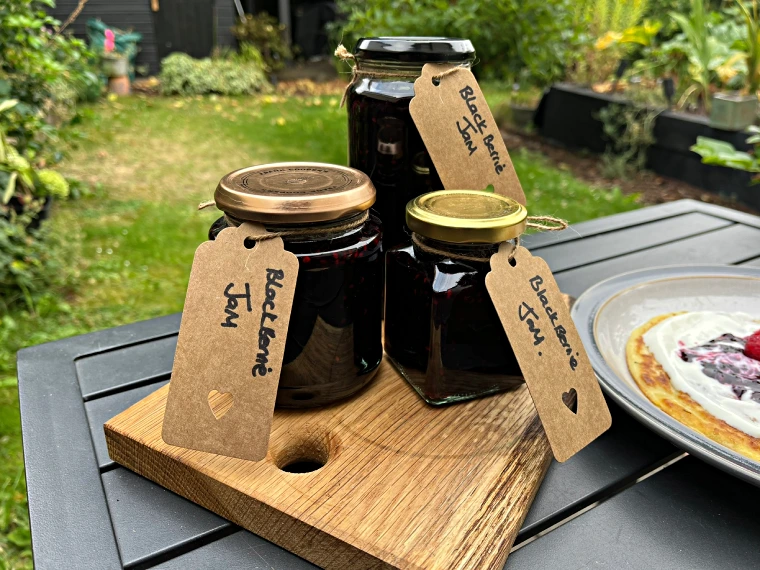
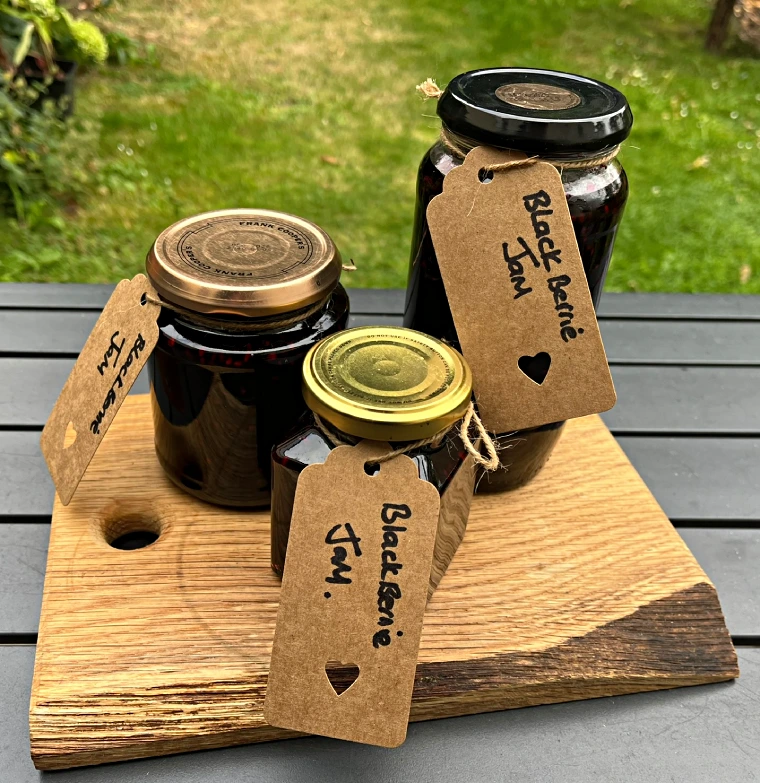
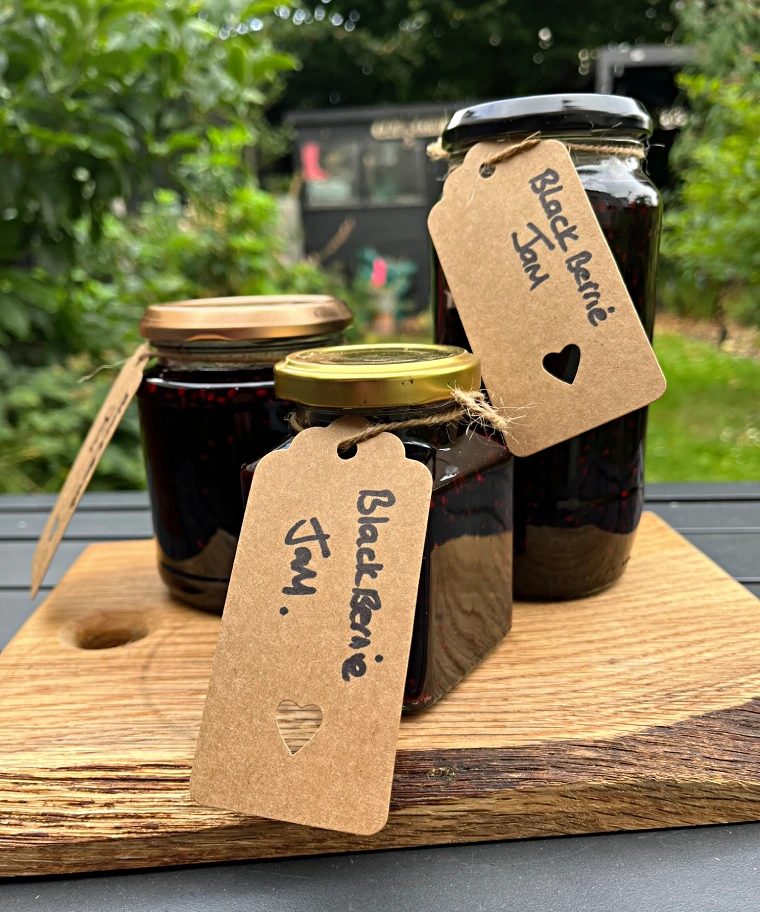
- Makes a lovely homemade gift for friends and family
Ingredients
Blackberries: You’ll need 1 lb of fresh blackberries. If you’re lucky, you can forage these from the hedgerows near your home. Just be sure to ask the landowner’s permission first! You can also plant your own blackberry bushes; Jim blackberries are a great variety for this recipe and easy to grow yourself!
Sugar: Use 1 lb of preserving sugar. This special sugar helps the jam set properly and gives it that lovely glossy finish.
Lemon: You’ll need the juice of half a fresh lemon. This adds a bit of zing and helps the jam set.
Instructions
- Start by giving your blackberries a good wash and pat them dry. Pop them in a colander to drain if you like.
- Next, measure out your blackberries and sugar. You want equal amounts of each – this recipe uses a pound-for-pound ratio.
- Chuck the sugar and fruit into a large saucepan and give it a good stir. Add the lemon juice and mix it all together.
- Cook the mixture on low heat until all the sugar has dissolved. Then, bring it to a boil and let it boil for about 15 minutes.
- Here’s a nifty trick: put a couple of saucers in the freezer. To test if your jam is ready, spoon a bit onto a chilled saucer. If it wrinkles when you push it with your finger, it’s done!
- Once it’s ready, carefully pour the hot jam into sterilised jars. I find using a funnel or a small measuring jug helps avoid any messy spills.
What to serve with Gluten-Free Blackberry Jam
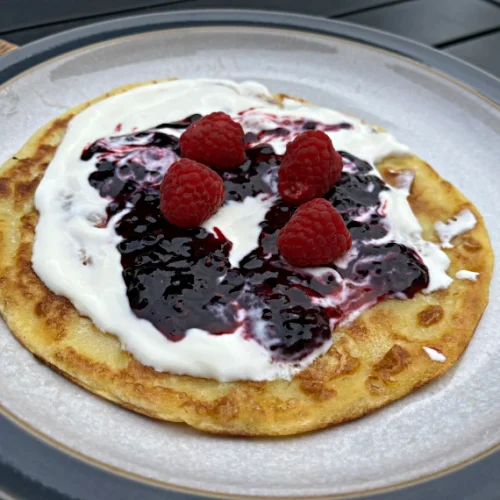
This jam is brilliant on just about anything! Spread it on your favourite gluten-free toast or crumpets for a tasty brekkie. It’s lovely swirled into natural yoghurt for a quick pud.
For a proper treat, use it as a filling for gluten-free Victoria sponge cake. Or, warm it up a bit and drizzle over gluten-free ice cream – absolutely divine!
And don’t forget, it makes a smashing addition to a gluten-free afternoon tea spread. Pair it with some gluten-free scones and clotted cream for a real indulgence.
Are you ready to try my gluten-free blackberry Jam recipe? Then let’s get started:
Gluten-Free Blackberry Jam
Equipment
- 1 Weighing scales
- 1 Wooden Spoon
- 1 Colander (To wash your fruit)
- 1 Mixing Bowl
- 1 Measuring Jug or funnel (This helps to pour the hot jam into the jars)
- 4 400g Jars
- 1 Citrus squeezer
- 1 Large saucepan
- 2 Saucers (To show when the jam is ready to set)
Ingredients
- 1 lb Blackberries
- 1 lb Preserving sugar
- 1/2 Fresh lemon juice
Instructions
- First wash your fruit and pat dry or drain in a colander.
- Next measure out your fruit and sugar. They should be the same amount. This recipe is a pound fruit to a pound of preserving sugar.
- Next, add the sugar and fruit to the large saucepan and mix them together so the sugar starts to dissolve, add the lemon juice and stir well.
- Start to cook the blackberries on low heat until all of the sugar is dissolved then bring to the boil and simmer for 15 minutes.
- Put two saucers into the freezer.
- Spoon a little of the jam onto the chilled saucer. Once it has cooled push it with your finger. If it wrinkles a little, it is ready and has reached its setting point. If it is too runny keep boiling a checking as above every 3-4 minutes.
- Next, fill your sterillsed jars with the jam, I use a funnel or a small measuring jug to fill the jars as the jam is very hot so be careful. Label and keep in a dark place for up to 6 months. Once opened keep in the fridge and use within 3 months.
Nutrition
If you enjoyed my gluten-free blackberry jam recipe, then check out these 👇
- Gluten-Free Spiced Pear Chutney
- Gluten-free green tomato chutney
- Gluten-free tomato chutney
- Gluten-free rhubarb and ginger jam
- Gluten-free rhubarb and raspberry crumble bars
Gluten-Free Blackberry Jam Tips
Here are some tips to help you make the most out of my gluten-free blackberry jam recipe:
Avoid Cross-Contamination
If you’re preparing gluten-free blackberry jam in a kitchen that is not entirely gluten-free, take precautions to avoid cross-contamination.
Use separate utensils, cutting boards, and cooking surfaces to prevent gluten from coming into contact with the ingredients.
When possible, do not use wooden utensils, cutting boards, and rolling pins that are used with gluten.
Sterilise your jars
Make sure to sterilise your jars. You can do this in several ways. Put the jars and lids through a hot wash in a dishwasher. Put the jars and lids on a tray and pop them in the oven gas 3 150C for 30 minutes, or as I do wash them in hot soapy water then allow them to dry, then just before adding the jam fill them with boiling water wait 5 minutes then empty and fill with the hot jam. The jam should keep up to 6 months unopened. Once opened, keep in the fridge and eat within 6 weeks.
Seedless jam – If you prefer seedless jam, strain the cooked mixture through a fine sieve before boiling it down further.
Add zest– For a more zesty flavour, add lemon zest along with the juice.
Cooking-Avoid overcooking as this can result in overly thick or caramelised jam.
Frequently Asked Questions
Is blackberry jam naturally gluten-free?
Yes, traditional blackberry jam is naturally gluten-free as it typically contains only fruit, sugar, and lemon juice or pectin. However, cross-contamination during production or the addition of thickeners or stabilisers in commercial jams can introduce gluten.
Do I need special ingredients to make gluten-free blackberry jam?
No, you don’t need any special ingredients. Simply use fresh blackberries, preserving sugar (or granulated sugar), and lemon juice. These are inherently gluten-free.
Do I need to add pectin to my blackberry jam?
Blackberries are naturally high in pectin, so additional pectin is usually unnecessary. However, preserving sugar with added pectin can help ensure a good set if you prefer a firmer texture.
How do I know when the jam has set?
Test the setting point by placing a small dollop of jam on a chilled saucer from the freezer. If it wrinkles when pushed with your finger after cooling for 30 seconds, it’s ready. If not, boil for another 1–2 minutes and retest.
How long does homemade blackberry jam last?
Properly sterilised and sealed jars of jam can last up to six months in a cool, dark place. Once opened, store in the fridge and consume within 6–8 weeks.
Can I use frozen blackberries to make jam?
Absolutely! Frozen blackberries work just as well as fresh ones and are often more economical. Defrost them before cooking to release their juices.
How can I use blackberry jam besides spreading it on toast?
Blackberry jam is versatile! Use it as:
– A filling for sponge cakes or tarts.
– A topping for scones with cream.
– A drizzle over ice cream or yoghurt.
Share the love!
Related recipes 🔗
Becky ✍️
![]() Hi, I am Becky. I am a passionate recipe maker and having been a coeliac (celiac) for 30+ years I focus on gluten-free recipes. My blog is my online cookbook of gluten-free tasty recipes. You can follow me on X: @beckygwg
Hi, I am Becky. I am a passionate recipe maker and having been a coeliac (celiac) for 30+ years I focus on gluten-free recipes. My blog is my online cookbook of gluten-free tasty recipes. You can follow me on X: @beckygwg
Meet Becky 👉
Comments
There are 2 comments on this post. Leave a comment 👇
Easy to make. Tasty.
Wow! The jam looks really delicious. it makes me want to try it.