Tasty Gluten-Free Spiced Pear Chutney Recipe
Let me tell you about the most delicious chutney I’ve ever made – a gluten-free spiced pear chutney that’s seriously yummy.
Imagine taking sweet, juicy pears and turning them into a magical spread that makes everything taste better. That’s exactly what this chutney does! It’s super easy to make and packed with flavour that’ll make your taste buds do a little happy dance.
The best part? It’s totally gluten-free, so everyone can enjoy it. Whether you’re spreading it on a cheese sandwich, dolloping it next to some cold meats, or using it as a dip, this chutney is a total game-changer.
I love how it’s got that perfect mix of sweetness from the pears and a warm, spicy kick that reminds you of cosy autumn evenings. It’s like a big, tasty hug in a jar!
Trust me, once you’ve tried this homemade chutney, you’ll never want to go back to store-bought again. It’s simple, delicious, and made with love. What more could you want?

Table of Contents
What you’ll love about this recipe
Bursting with Flavour
This chutney is a flavour explosion! The combination of sweet pears and warm spices creates a delightful balance that enhances any dish. Whether you’re pairing it with cheese, meats, or even spreading it on toast, each bite is packed with deliciousness that will keep you coming back for more.
Easy to Make
You don’t need to be a master chef to whip up this chutney. With just a handful of simple ingredients and straightforward steps, you can create something truly special in your own kitchen. It’s perfect for both seasoned cooks and beginners alike!
Versatile Use
One of the best things about this chutney is its versatility. Use it as a condiment for sandwiches, a topping for grilled meats, or even as a dip for crackers. It’s also fantastic alongside cheeses, making it a great addition to any cheese board. The possibilities are endless!
Homemade Goodness
There’s something incredibly satisfying about making your own preserves. This recipe allows you to control the ingredients, ensuring that everything is fresh and free from preservatives. Plus, the aroma that fills your kitchen while it’s cooking is simply heavenly!
Perfect for Sharing
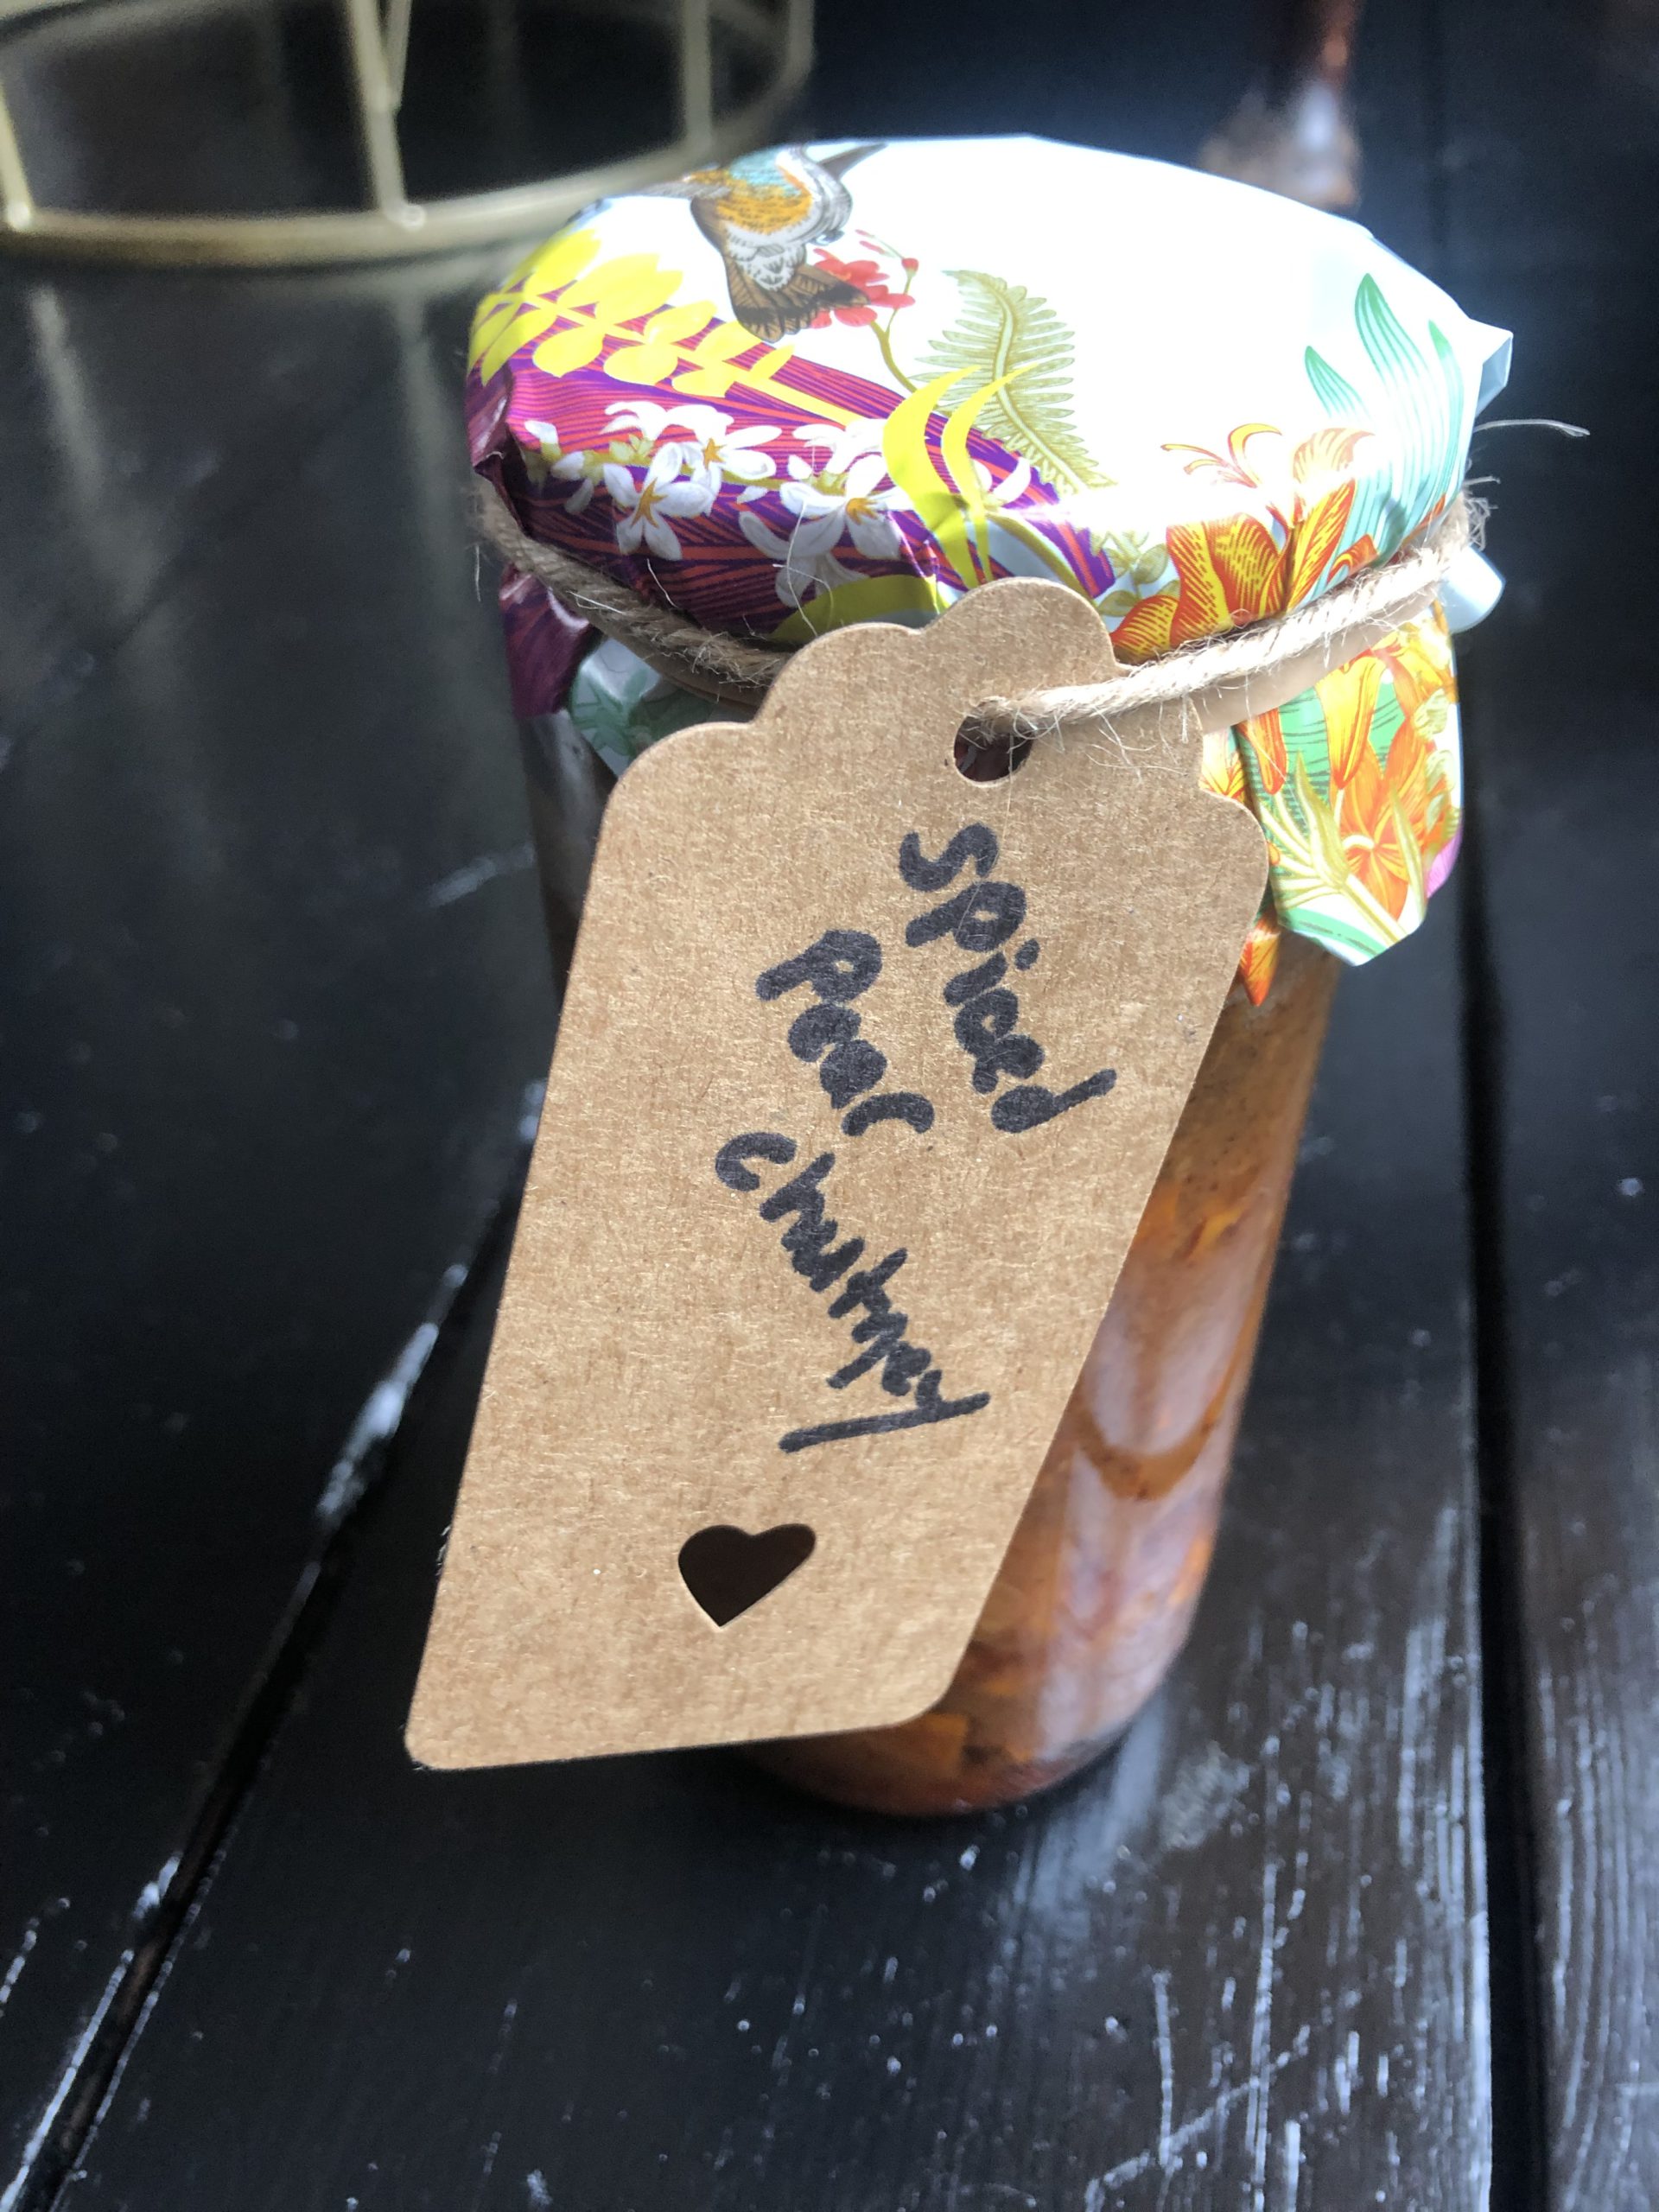
This spiced pear chutney makes a wonderful gift for friends and family. Whether you’re hosting a gathering or attending a potluck, bringing along a jar of this chutney is sure to impress. It’s a thoughtful way to share homemade goodness and spread joy through food!
Ingredients
- 10 Pears, peeled and chopped into bite-sized pieces
- 2 Medium red onions, finely chopped
- 1-2 Red chillies, finely chopped and de-seeded
- 50 g Sultanas
- 1 tbsp Fresh ginger, grated
- 1 tsp Ground cinnamon
- 1 Star Anise
- 200 g Brown sugar
- 200 ml Cider vinegar
- 100 ml Perry (pear cider)
Instructions
- Begin by carefully peeling the pears, ensuring you remove all the skin. Chop the pears into uniform bite-sized pieces, about 2-3 cm in size. This will help them cook evenly and create a consistent texture in your chutney.
- In a large, heavy-based saucepan, combine the brown sugar, cider vinegar, perry (pear cider), spices, and finely chopped red onions. Bring this mixture to a gentle boil, stirring occasionally to help the sugar dissolve completely and prevent any burning.
- Once the mixture is bubbling, add the chopped chillies and pears. Reduce the heat to a low simmer and let the chutney cook slowly. Stir occasionally to prevent sticking, and cook for approximately 40 minutes. You’re looking for a syrupy consistency and pears that are just tender but not mushy.
- When the chutney has reached the right consistency, remove it from the heat and stir in the sultanas. The residual heat will plump up the sultanas and integrate them beautifully into the chutney.
- Immediately spoon the hot chutney into sterilized glass jars. Ensure the jars are clean and warm to prevent cracking. Seal tightly and label with the date of preparation. This helps you keep track of the chutney’s storage time.
- Store the unopened chutney in a cool, dark place for up to three months. Once opened, keep the jar in the refrigerator and consume within 2-3 weeks.
Pro Tip: For the best flavour, let the chutney mature for at least two weeks before eating. This allows the flavours to meld and develop a more complex taste.
What to serve with gluten-free spiced pear chutney
Cheese Pairings
Pear chutney is a match made in heaven with creamy cheeses. Soft, rich cheeses like Brie and Camembert absolutely sing when paired with this spiced preserve. The sweet and tangy notes complement the cheese’s creamy texture perfectly.
Cheese Board Delights
Transform your cheese board from ordinary to extraordinary with this chutney. Serve it alongside crisp oat cakes, traditional crackers, and a selection of cold cuts. It adds a vibrant splash of colour and flavour that will impress your guests.
Meat Accompaniments
This chutney is a game-changer for meat lovers. It pairs beautifully with cold cuts, and traditional pork pies, and creates the most delightful ploughman’s lunch you can imagine. The sweet and spicy notes cut through rich meats wonderfully.
Appetizers and Snacks
Your versatile chutney isn’t just for cheese and meat. It’s fantastic with veggie burgers, can elevate samosas, and makes an excellent wrap condiment. Its complex flavour profile means it can transform simple dishes into something special.
Pro Tips
Homemade chutney is more than just a condiment – it’s a labour of love. Consider packaging it in pretty jars as a thoughtful, personal gift that shows you’ve put real care and effort into creating something delicious.
Fun Fact: The word “chutney” originates from the Hindi word “chatni”, meaning “to eat with appetite”. These delightful preserves have a rich culinary history stretching back over 2,000 years!
Are you ready to try my gluten-free spiced pear chutney recipe? Then let’s get started:
Gluten-Free Spiced Pear Chutney Recipe
Equipment
- Chopping Board
- Sharp Knife
- Weighing scales
- Table Spoon
- Tea Spoon
- Measuring Jug
- 4 Sterilised Glass Jam Jars
- Heavy iron based pan
- Ladle
Ingredients
- 10 Pears chopped into bite-sized pieces
- 2 Medium red onions finely chopped
- 1-2 Red chillies finely chopped and de-seeded
- 50 g Sultanas
- 1 tbsp Fresh ginger grated
- 1 tsp Ground cinnamon
- 1 Star Anise
- 200 g Brown sugar
- 200 ml Cider vinegar
- 100 ml Perry (pear cider)
Instructions
- Peel and chop the pears into bite-sized pieces.
- Put sugar, cider vinegar, perry, spices, and red onion into a large saucepan. Bring to the boil.
- Add chillies and pears and simmer for 40 minutes until the liquid is syrupy and the pears are just cooked.
- Stir in the sultanas, and remove from the heat.
- Spoon into sterilized jars immediately (while still hot) and label.
- Will store unopened for three months. Once opened keep in the fridge.
- Serve with cheese scones or cold meats.
Nutrition
If you enjoy my gluten-free spiced pear chutney recipe, then check out these 👇
Gluten-Free Spiced Pear Chutney Tips
Here are some tips to help you make the most out of this recipe:
How to sterilize your jars
Sterilize your jars before you start to make your chutney so they are clean and safe to store your lovely chutney in.
Heat the oven to 140C/120C fan/gas 1. Wash your jars in hot soppy water and rinse well.
Place the jars on a baking sheet and pop them into the oven to dry completely.
This takes around 10 minutes. If using jars with rubber seals, boil the seals as the heat from the oven will damage them. Spoon up your chutney as soon as it is cooked.
Avoid Cross-Contamination
If you’re preparing the chutneys in a kitchen that is not entirely gluten-free, take precautions to avoid cross-contamination. Use separate utensils, cutting boards, and cooking surfaces to prevent gluten from coming into contact with the ingredients.
Choosing the Right Pears
When making your chutney, opt for firm-fleshed pears. You can use any variety, but ensure they’re not overly ripe[5]. Look for firm fruit that will hold its shape during cooking.
Flavour Enhancing Tips
- Use apple cider vinegar to balance sweetness
- Choose soft brown sugar for a better depth of flavour
- Experiment with a combination of ground spices like ginger, cinnamon, and nutmeg
Storage
Store your chutney in the fridge and use it within three months. The long cooking time, high sugar, and vinegar content help preserve it. Ensure you use jars with vinegar-proof lids.
Pro Tip
For the best flavour, try to let the chutney sit for at least 2 weeks before opening. This allows the flavours to develop and meld together, resulting in a more delicious chutney.
Frequently Asked Questions
How long will my chutney last?
- The chutney can be stored unopened for three months. Once opened, keep it in the refrigerator.
- Once jarred, cooled, and tightly sealed, you can:
- Store unopened for up to 12 months in a cool, dark place
- Keep an opened jar in the fridge for up to 4 weeks
Can I freeze the chutney?
Yes! Homemade chutney can last 2-3 months in the refrigerator and can be frozen for up to 12 months.
How do I ensure my chutney is truly gluten-free?
When making the chutney, pay special attention to ingredients like soy sauce. Many soy sauces contain gluten, but tamari is usually gluten-free. Always check labels carefully.
What spices work best in pear chutney?
- Cinnamon and allspice are quite sweet
- Ginger and cardamom pair wonderfully with pears
- Mixed spice works well
- For a stronger flavour, try ground coriander or cumin
What should I serve with my pear chutney?
It goes excellently with: Cheese and crackers, cold meats, turkey and curries.
How do I properly sterilize jars?
- Heat the oven to 140°C/120°C fan/gas
- Wash jars in hot soapy water and rinse well
- Place jars on a baking sheet and dry in the oven
- This process takes around 10 minutes
- If using jars with rubber seals, boil the seals separately
- Spoon up your chutney as soon as it is cooked
Share the love!
Related recipes 🔗
Becky ✍️
![]() Hi, I am Becky. I am a passionate recipe maker and having been a coeliac (celiac) for 30+ years I focus on gluten-free recipes. My blog is my online cookbook of gluten-free tasty recipes. You can follow me on X: @beckygwg
Hi, I am Becky. I am a passionate recipe maker and having been a coeliac (celiac) for 30+ years I focus on gluten-free recipes. My blog is my online cookbook of gluten-free tasty recipes. You can follow me on X: @beckygwg
Meet Becky 👉
Comments
There is 1 comment on this post. Leave a comment 👇
I made this during pear season and it pairs beautifully with cheese—I’m planning to gift jars for the holidays!